


The DTF Wash Test is a crucial evaluation for direct-to-fabric (DTF) transfers, simulating real-world washing conditions to assess design vibrancy and longevity on fabrics like apparel. This test results in insights into DTF durability, helps select optimal ink types and application methods for personalized hoodies, and ultimately revolutionizes custom apparel with long-lasting designs. Preparation demands a clean workspace, right materials, garment cleanliness, and pre-treatment; execution requires systematic steps including even ink application, appropriate wash conditions, precise timing, and meticulous result evaluation.
The DTF Wash Test is an essential quality control measure for surface preparation in various industries. This guide aims to demystify the process, offering a comprehensive overview of understanding and successfully applying the DTF Wash Test. From grasping the purpose and benefits to preparing for and executing the test, we provide a step-by-step approach to ensure optimal results. Master the art of the DTF Wash Test and elevate your surface preparation game.
- Understanding the DTF Wash Test: Purpose and Benefits
- Preparation for a Successful DTF Wash Test Application
- Step-by-Step Guide to Executing the DTF Wash Test Effectively
Understanding the DTF Wash Test: Purpose and Benefits

The DTF Wash Test is a crucial step in understanding the performance and longevity of your DTF transfers, especially when applied to fabrics like Apparel. This test simulates real-world conditions by subjecting printed samples to rigorous washing procedures, revealing how well the design retains its vibrancy and integrity after repeated launderings. By undergoing this process, you gain valuable insights into the durability of your DTF for Apparel prints, ensuring they meet the highest quality standards.
Beyond assessing wash durability, the DTF Wash Test offers benefits that extend to various applications, particularly in the realm of direct-to-film personalized hoodies. It helps manufacturers and designers make informed decisions about ink types and application methods, ultimately enhancing customer satisfaction by preventing color fading or design flaking off after washing. This test is a game changer for anyone looking to revolutionize their custom apparel offerings with vibrant, long-lasting designs.
Preparation for a Successful DTF Wash Test Application
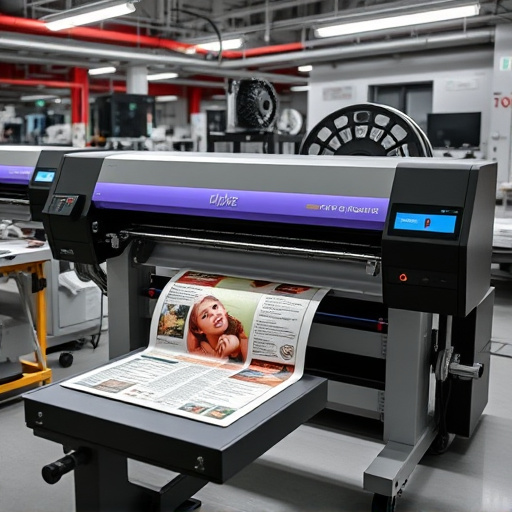
Preparation is key when it comes to a successful DTF Wash Test application. Begin by ensuring your work area is clean and well-organized, with all necessary materials readily available. This includes gathering the appropriate DTF heat transfer paper or dtf transfer film suitable for DTG printing on apparel, as well as any specialty inks or coatings recommended for enhanced durability. Proper preparation of the print surface is crucial; ensure garments are properly cleaned and pre-treated to achieve optimal results.
Before applying the design, double-check your image quality and resolution to guarantee a crisp and clear transfer. Use high-quality graphics and images, as lower resolutions may result in poor print outcomes. Consider testing on scrap material first to perfect your technique and ensure the DTF for apparel adheres well without any bubbles or misalignments. With meticulous preparation and attention to detail, you’ll be well on your way to achieving exceptional results with your DTF Wash Test application.
Step-by-Step Guide to Executing the DTF Wash Test Effectively
Executing the DTF Wash Test effectively involves a meticulous process that ensures the durability and quality of your DTF prints. Here’s a step-by-step guide to help you achieve optimal results:
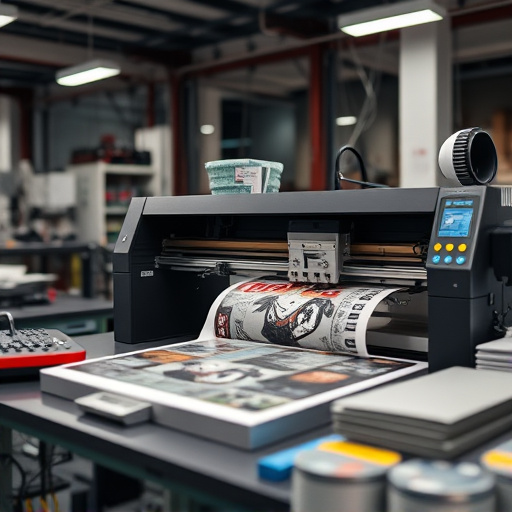
1. Prepare Your Workarea: Set up a clean, well-lit workspace. Ensure proper ventilation, as the DTF heat transfer paper can release fumes during application. Gather all necessary tools, including your DTF prints, ink, and wash test equipment.
2. Apply the Ink: Carefully apply the ink to your DTF prints following the manufacturer’s instructions. Ensure even coverage for accurate testing. Let the ink dry completely; this step is crucial for optimal adhesion during the wash test.
3. Select Suitable Wash Conditions: Choose a washing machine appropriate for the fabric type you’re testing. Set the wash cycle to reflect typical laundry practices, considering temperature, detergent type, and number of washes.
4. Conduct the Wash Test: Place your DTF prints in the machine and run the selected wash cycle. Time the cycle accordingly, allowing it to complete without interruption. After the cycle ends, carefully remove the prints and inspect them for any signs of fading, bleeding, or delamination.
5. Evaluate Results: Assess the condition of your DTF prints post-wash. Look for changes in color vibrancy, ink smearing, or any other defects. Compare these findings with the manufacturer’s specifications to determine if the DTF prints meet your quality standards.
The DTF Wash Test is a powerful tool for assessing and enhancing surface preparation, offering numerous benefits in various industries. By following this guide, you can ensure a successful application process, ensuring optimal results. Understanding the test’s purpose, preparing thoroughly, and executing each step with care will help achieve accurate and reliable outcomes. Remember, proper surface treatment is key to any successful project, making the DTF Wash Test an indispensable method for achieving high-quality standards.