


The DTF Wash Test is a critical quality control step in apparel production, simulating real-world wear to ensure design longevity and vibrancy. This test identifies issues like color bleeding or incorrect design placement before products reach consumers by assessing dye transfer and ink-fabric bonding strength. Mastering the DTF process involves precise application of DTF film, heat pressing, and wash testing for optimal results. Proper setup, equipment calibration, and adherence to manufacturer guidelines are essential for accurate DTF Wash Test outcomes.
“Unleash your inner pro with our comprehensive guide on mastering the DTF Wash Test—a crucial process in ensuring product quality. Discover the art of understanding this test’s basics and purpose, then follow our meticulous step-by-step approach for precise results. From preparation tips to best practices, we demystify the process, empowering you to confidently navigate the DTF Wash Test like a seasoned professional. Elevate your skills and achieve accurate, consistent outcomes.”
- Understanding the DTF Wash Test: Basics and Purpose
- Step-by-Step Guide to Performing a DTF Wash Test
- Tips and Best Practices for Achieving Accurate Results
Understanding the DTF Wash Test: Basics and Purpose

The DTF Wash Test (Direct-to-Fabric Transfer) is a crucial quality control measure used in the apparel industry to ensure the longevity and vibrancy of printed designs. This test assesses how well dyes transfer from a printing medium to fabric during washing, simulating real-world wear and tear. It’s not just about checking for color bleeding; it also validates the strength of the bond between the ink and the fabric, which is vital for resistant, long-lasting prints.
The primary purpose of a DTF Wash Test is to identify potential issues before products hit the market. By subjecting printed fabrics to controlled washing conditions, manufacturers can uncover problems like poor dye fixation, color fading, or transfer of designs onto the wrong side of the fabric. This proactive approach allows for adjustments in printing techniques and ensures DTf transfers (direct-to-fabric transfers) meet the desired standards for DTF for Apparel applications, ultimately delivering high-quality, durable garments to consumers.
Step-by-Step Guide to Performing a DTF Wash Test

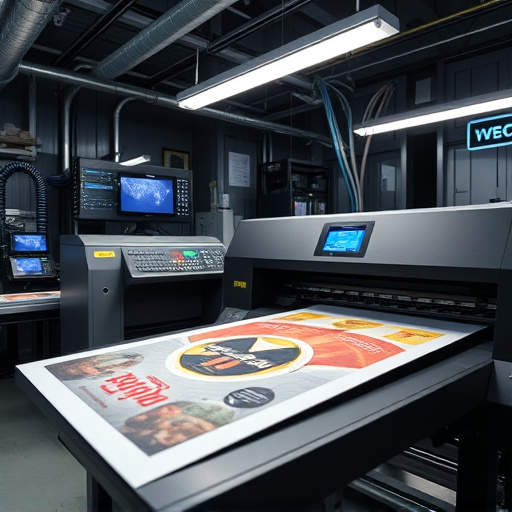
Performing a DTF Wash Test is an art that ensures the durability and quality of your designs, be it for apparel or direct-to-film personalized hoodies. Here’s a step-by-step guide to help you master this process:
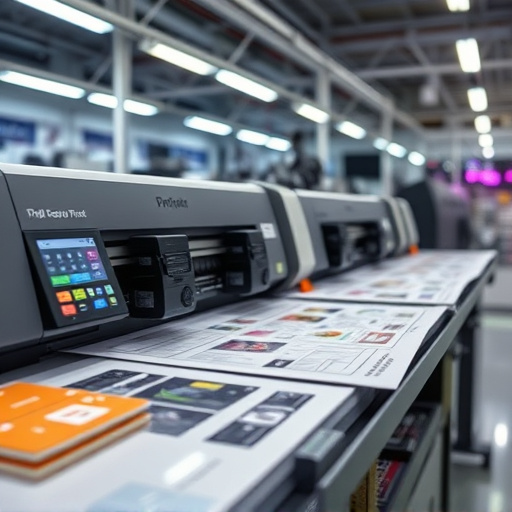
1. Prepare Your Materials: Gather all necessary tools including the DTF film (pre-cut to fit your design area), heat press machine, cleaning solution, and a washing machine capable of handling high temperatures. Ensure your work surface is clean and organized.
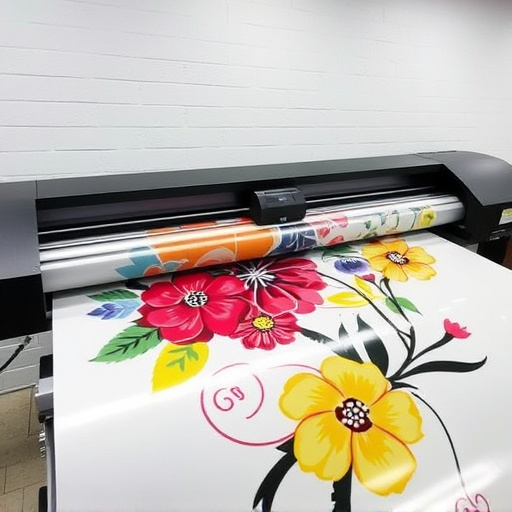
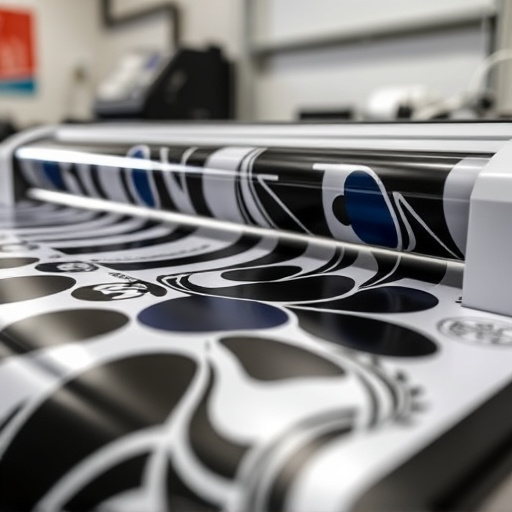
2. Apply the DTF Film: Carefully align and apply the DTF film onto the apparel item according to the manufacturer’s instructions. Use a squeegee or your hands to ensure proper contact and smooth out any air bubbles. The key is a crisp, clear application for optimal results.
3. Heat Press the Design: Preheat your heat press machine to the recommended temperature for DTF transfers, usually around 350-400°F (175-205°C). Once heated, apply pressure for the recommended time, typically between 2-4 minutes. This step ensures a strong bond between the design and the fabric.
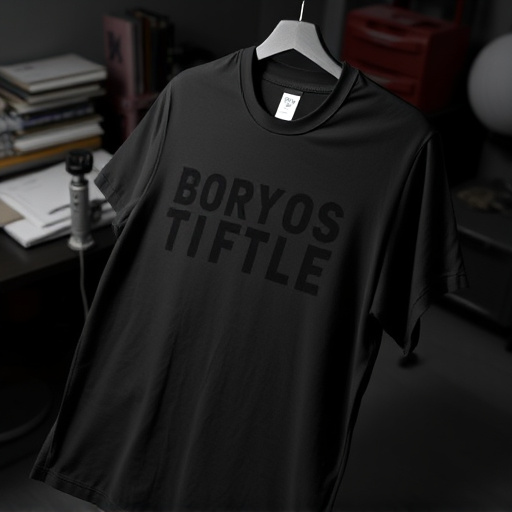
4. Wash Test: After cooling down, gently remove the DTF film to reveal your design. Place the apparel item in the washing machine with a mild detergent, using cold water initially for a quick wash cycle. Observe if there are any signs of peeling or flaking, indicating inadequate adhesion.
5. Repeat and Refine: If the initial test shows poor adhesion, adjust your heat press time, temperature, or the type of DTF film used. Repeated testing ensures you find the perfect combination for optimal results with your specific materials.
Tips and Best Practices for Achieving Accurate Results

To achieve accurate results with a DTF Wash Test, follow these best practices: First, ensure your work surface is clean and free from any contaminants that could affect the test outcomes. Using the correct DTF heat transfer paper and following the manufacturer’s guidelines for preparation is essential. The surface must be smooth and free of wrinkles to guarantee consistent contact between the design and material during the dtf transfer.
Another crucial step is pre-treating the material as recommended, which can vary depending on the fabric type. Proper timing and temperature during the printing process are also critical factors in achieving precise results. After printing, allow the ink to set completely before conducting the wash test. Regularly calibrate your equipment and maintain it to ensure consistent performance, and always refer to the specific instructions provided by the DTF printing manufacturer for optimal results.
The DTF Wash Test is a powerful quality control tool that ensures paints and coatings meet expected durability standards. By following the step-by-step guide and best practices outlined in this article, you can accurately apply and interpret the results of the DTF Wash Test like a pro. Mastering this technique allows you to maintain consistent product quality, identify potential issues early on, and ultimately deliver superior finished products that withstand rigorous testing.